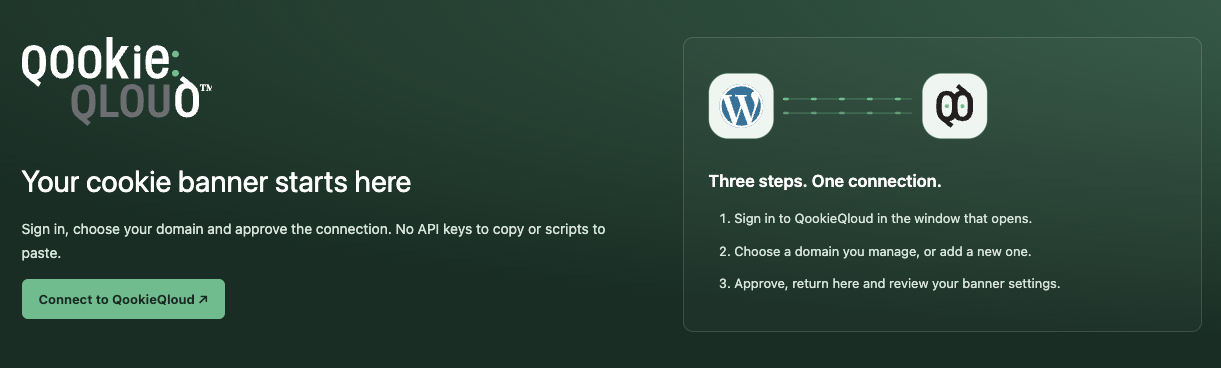
The connection process is the same for the WordPress plugin and the Statamic addon. The screenshots below show WordPress, but the popup and approval steps are shared by both integrations.
Interactive guide
Connect in three steps
Follow the same secure flow in WordPress and Statamic.
01Start in your CMSOpen QookieQloud and start the connection.
02Sign inContinue in the secure QookieQloud window.
03Choose and approveSelect your domain and return to the CMS.
QookieQloud · WordPress
Connect your installation
Confirm that you started this connection from your WordPress installation.
Banner requests are allowed from this installation address.
After connecting: clear the CMS, page and CDN cache if the banner or dashboard still shows an older state. The private key stays on the integration server; the public key is used by the banner.