Cumplimiento de cookies Webflow.
Add QookieQloud cookie consent to Webflow with a guided OAuth setup, a native Designer app and a banner that loads through Webflow Custom Code.
QookieQloud para Webflow
Por qué elegir QookieQloud para Webflow.
Diseñado específicamente para agencias digitales modernas, desarrolladores y propietarios de tiendas en Webflow.
Bloqueo de script automatizado
QookieQloud detecta automáticamente etiquetas de terceros en Webflow y les impide disparar hasta que el visitante haya concedido el consentimiento.
Google Consent Mode v2
Soporte nativo completo para Google Consent Mode v2 sin necesidad de codificación. Mantenga sus modelos Google Analytics & Ads exactos.
Escáner de radar continuo
Cuando agregue nuevos scripts o actualice sus Webflow tema, nuestro escáner de auditoría programada descubre automáticamente nuevos cambios de cookies y banderas.
Install QookieQloud on Webflow in three steps.
Authorize the app, select your Webflow site and domain, then publish the site when you are ready to make the banner live.

Install from Webflow
Start the installation from Webflow Workspace → Apps & Integrations → QookieQloud and authorize QookieQloud for the site you want to connect. The app requests only the site and Custom Code permissions needed for the integration.
Marketplace reviewers: start installation from Webflow. This page documents the flow and does not replace Webflow authorization.
Connect your QookieQloud account
After Webflow authorization, continue with an existing QookieQloud account or create one. Choose the authorized Webflow site and the domain that should use the banner.
Webflow → Apps → QookieQloud → Authorize
Install the banner and publish
QookieQloud registers the consent bootstrap through Webflow Custom Code. Publish the selected domain in Webflow to make the banner available to visitors.
QookieQloud → Install banner → Webflow → Publish
Consent tools beside your Webflow site.
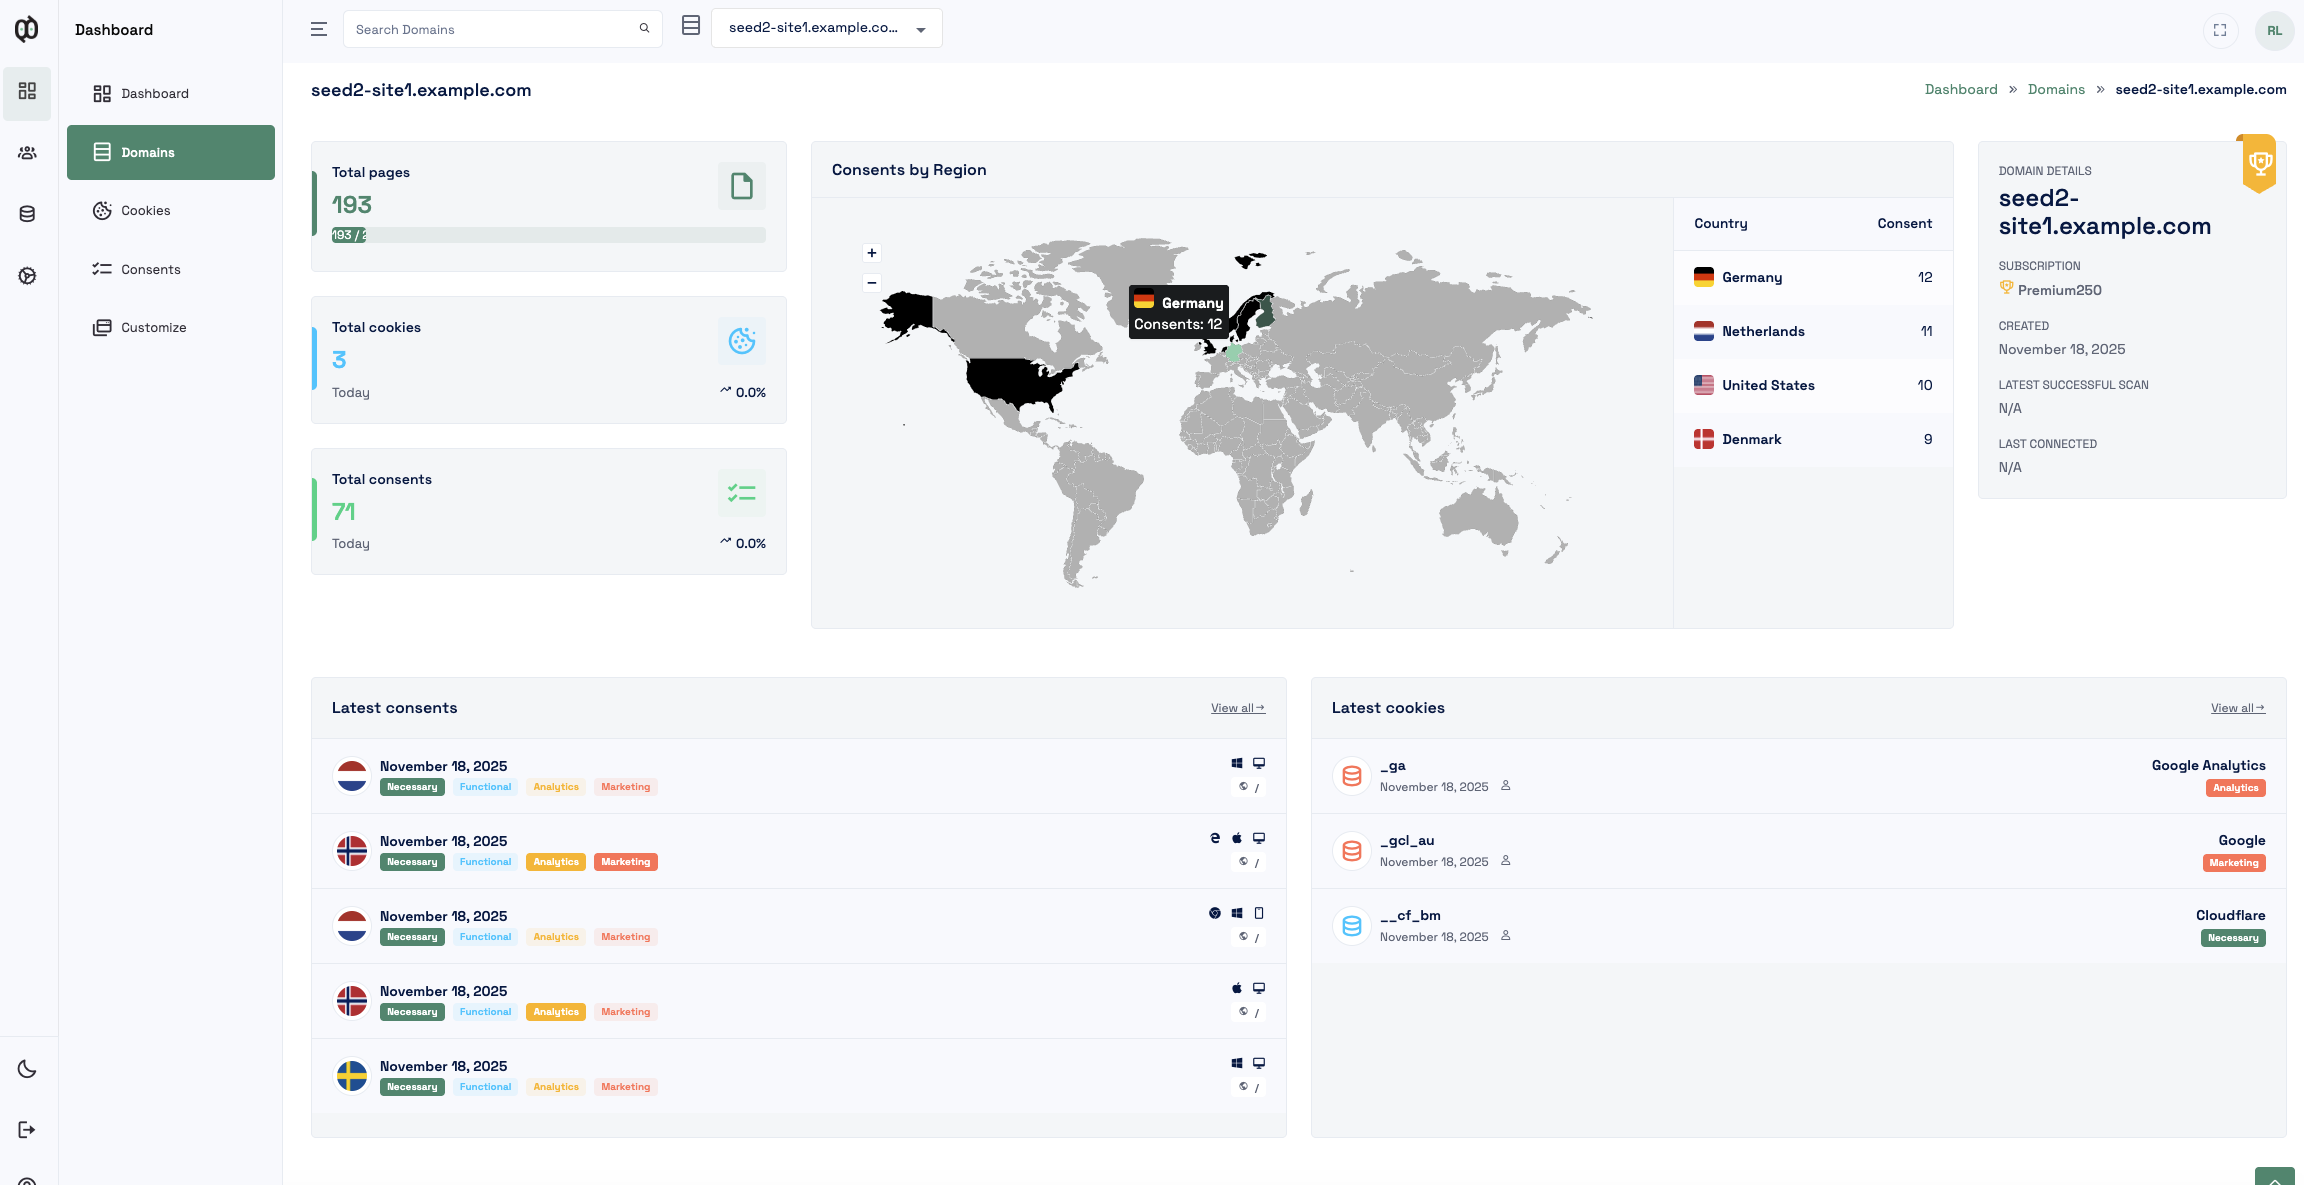
Open your connected QookieQloud domain, banner customization, discovered cookies and consent records from the Designer app. Account and reporting views remain in QookieQloud.
Guided OAuth onboarding
Authorize the selected Webflow site, connect a QookieQloud account and choose an existing or newly created domain.
Custom Code delivery
The app registers its consent bootstrap with Webflow and leaves publishing under the site owner’s control.
Webflow Consent Management API
When Webflow’s Browser API is available, Analyze and Optimize tracking follows the visitor’s QookieQloud consent choice. Supported integrations can also receive consent signals, including Google Consent Mode v2.
AI-assisted cookie review
Discovered cookies and trackers can be enriched with QookieQloud’s AI-assisted classification and review context.
QookieQloud for Webflow connects a published Webflow site to QookieQloud’s consent platform. The hybrid app combines a Webflow Designer app with a guided account and domain connection flow.
What the Webflow app provides
- Guided installation: Authorize the app, choose a Webflow site and select the domain that should be connected.
- Managed banner delivery: QookieQloud adds its consent bootstrap through Webflow Custom Code. You publish the site yourself when the setup is ready.
- Designer shortcuts: Open Customize, Cookies and Consents for the connected domain from the Webflow Designer.
- Webflow Consent Management API: When Webflow’s Browser API is available, the banner synchronizes visitor choices with Webflow’s Analyze and Optimize tracking consent switch.
- Consent signals: Supported integrations can receive visitor consent signals, including Google Consent Mode v2.
- AI-assisted classification: Discovered cookies and trackers can be classified and reviewed in QookieQloud.
Pricing and plan access
QookieQloud has Free, Standard and Premium plans. The available domain limits, scan capacity, customization options and advanced features depend on the current plan. Webflow installation does not require a separate Webflow payment. Paid QookieQloud features are managed in QookieQloud and should be tested with the reviewer account supplied in the Marketplace submission.
Data and permissions
The Webflow app uses OAuth and keeps Webflow tokens on the QookieQloud backend. It reads authorized sites and existing Custom Code, and writes only the QookieQloud-managed code needed for the banner. The public site receives a QookieQloud Site Key; it never receives a Webflow token.
For sites using Webflow Analyze or Optimize, the published banner can use Webflow’s Browser Consent Management API. QookieQloud requires both statistics and marketing consent before enabling the combined Webflow tracking switch. Set Webflow to “Don’t track by default” before publishing so tracking cannot start before the banner has loaded.
Disconnecting
Disconnect the domain from QookieQloud to remove the QookieQloud-managed Custom Code while leaving unrelated site code intact. Publishing remains a Webflow action. Webflow-side uninstall and access revocation are reconciled by the backend and may require the next scheduled access check before the connection is marked inactive.
Frequently Asked Questions about Webflow.
Got questions about integrating QookieQloud with Webflow? Here are quick answers.
How do I install QookieQloud on Webflow?
Start the installation from Webflow, authorize QookieQloud for the selected site, then continue to QookieQloud to connect your account and choose the domain. Install the banner from the final step and publish the site in Webflow when you are ready.
Does QookieQloud publish my Webflow site automatically?
No. QookieQloud registers the consent bootstrap through Webflow Custom Code, but you publish the selected domain in Webflow yourself. This keeps the final publishing decision with the site owner.
What Webflow permissions does QookieQloud use?
QookieQloud requests access to read authorized sites and inspect Custom Code, and to write the QookieQloud-managed banner code. Webflow tokens remain on the QookieQloud backend and are never sent to published pages.
Does the Webflow integration support Google Consent Mode v2?
Supported integrations can receive consent signals, including Google Consent Mode v2, according to each visitor’s choices. The exact behavior depends on the configured services and the scripts present on the site.
How does AI-assisted cookie classification work for Webflow?
QookieQloud scans the connected domain and can enrich discovered cookies and trackers with AI-assisted classification. You can review the results in QookieQloud and adjust them when a cookie needs a different category or review status.
When does QookieQloud detect a Webflow app uninstall or revoked access?
QookieQloud checks the Webflow API on a scheduled fifteen-minute interval. After Webflow reports that the app was uninstalled or access was revoked, QookieQloud marks the connection inactive in the QookieQloud admin. The status is therefore not guaranteed to update immediately. A site owner can disconnect the domain manually in QookieQloud when an immediate status change is needed.
Explore otras integraciones QookieQloud
Conectar QookieQloud en todos tus proyectos web
Listo para hacer su Webflow sitio plenamente conforme?
Ejecute un escaneo de radar instantáneo gratuito hoy y vea las cookies de terceros que sus visitantes reciben antes del consentimiento.